
We do our best to make sure our books and patterns are free of errors, but mistakes happen. If you believe there is an error in one of our products, please contact us at info@zakkaworkshop.com so we can get it corrected. All corrections are listed below. Thanks for your understanding!
Kits
Stylish Sewing Tote

The materials list should say 1/3 yard for the main fabric rather than ¼ yard. You will need to cut a piece that is 9½" wide, so you will need just over ¼ yard.
Scrappy Pencil Case
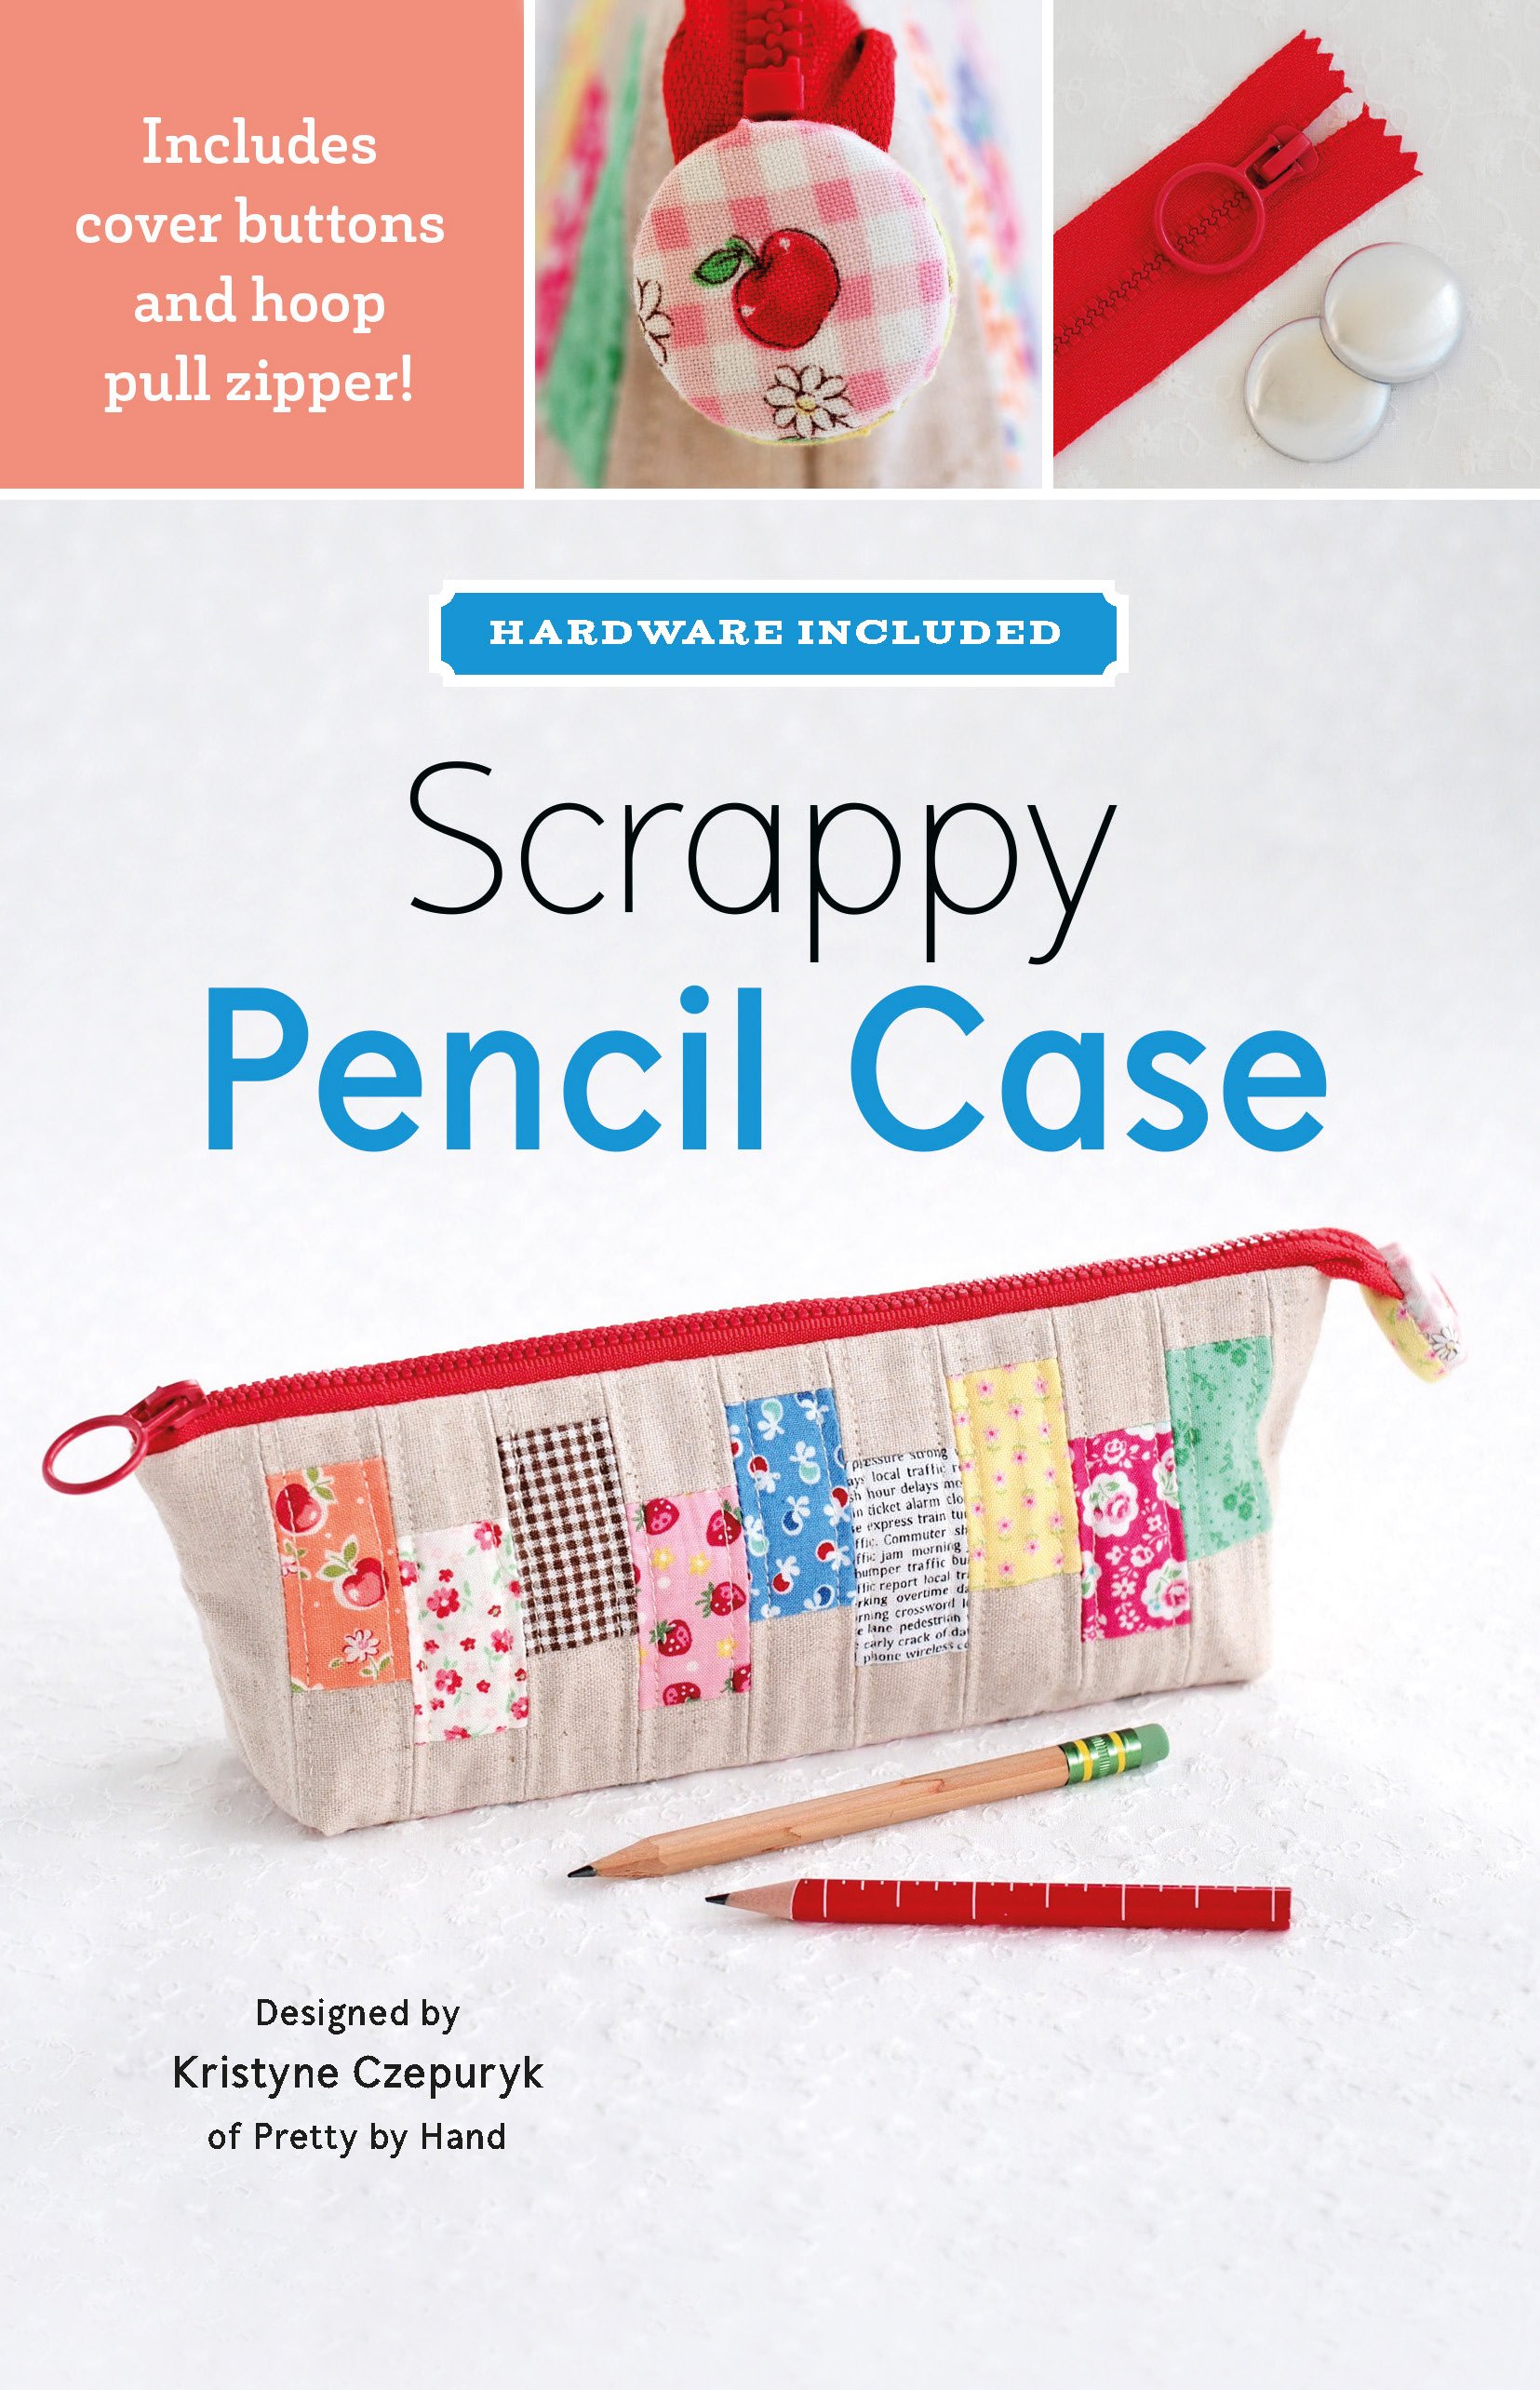
The cutting instructions indicate to cut the contrast strips at 1 ¼" x 3 ½" but they should actually be cut at 1 ¼" x 4."
Double Zip Wristlet
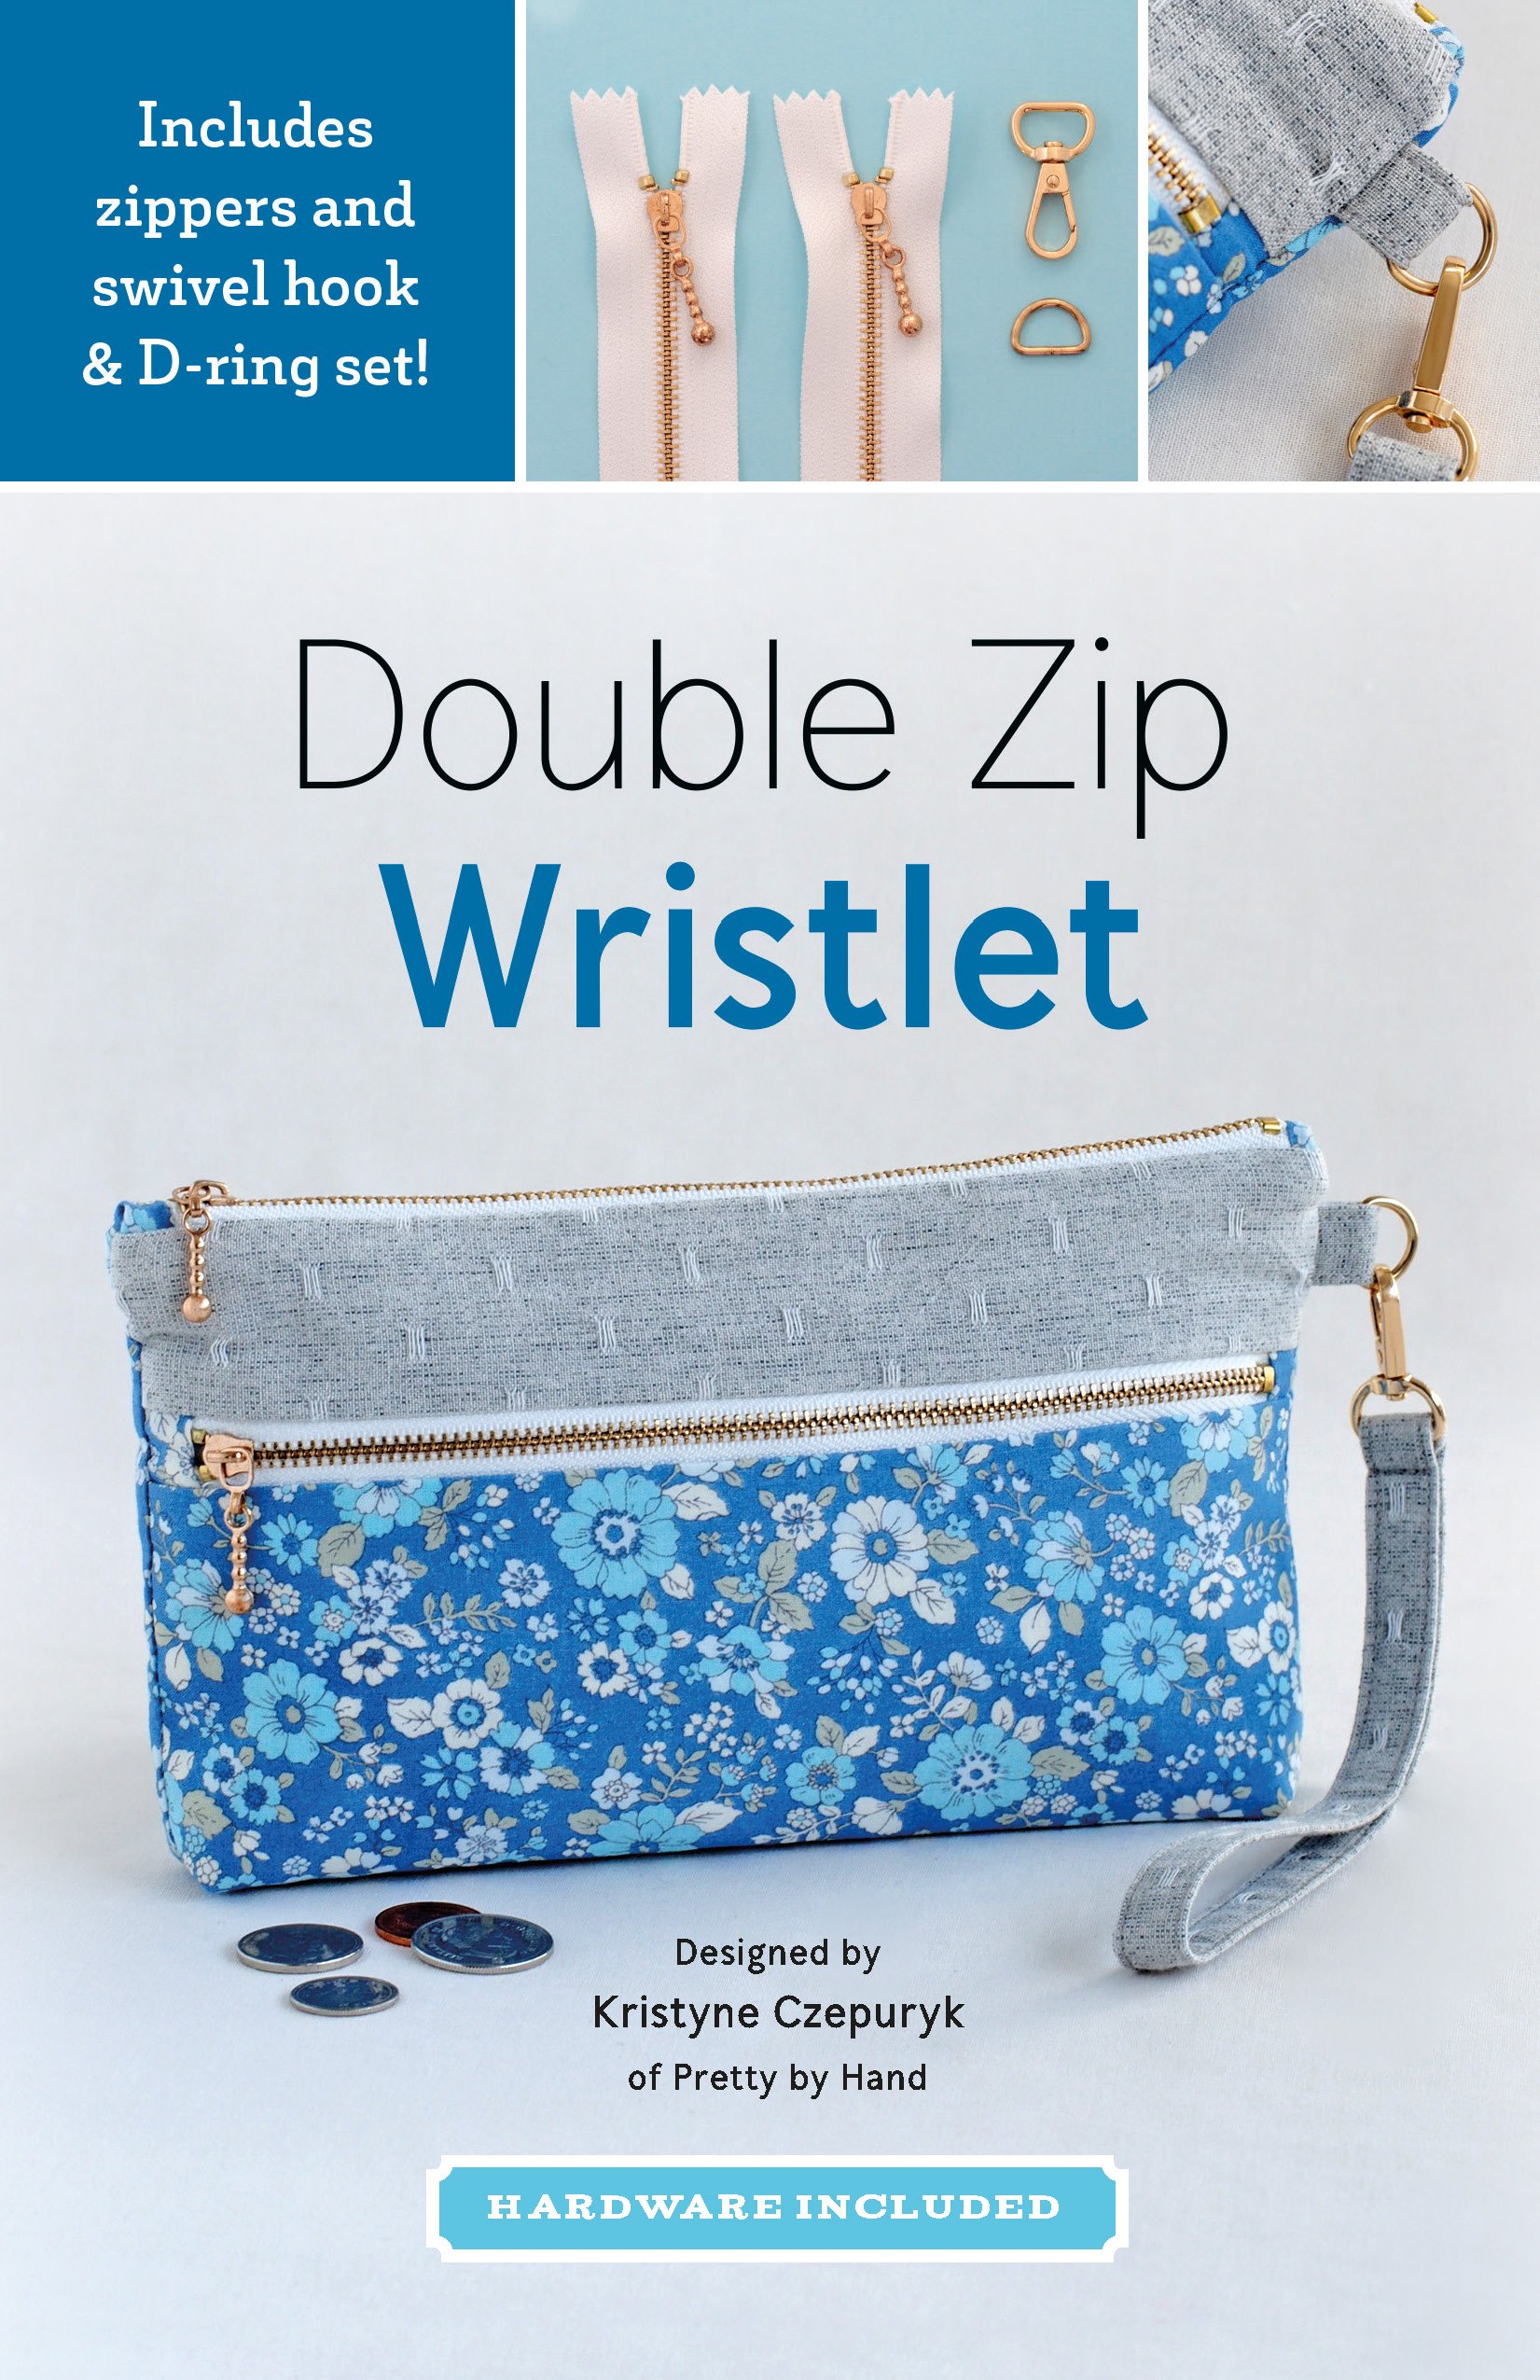
The fusible batting should be cut into (2)
8 ¾" x 5 ¾" pieces.Page 3: The text that corresponds to the fourth photo on this page should say “Fold the strap in half, RIGHT sides together, and sew the ends together with a 3/8" seam.”
In the next step, you should turn the strap right side out so that the wrong sides face each other and position the clasp between the seam allowances.
Stylish Sewing Caddy
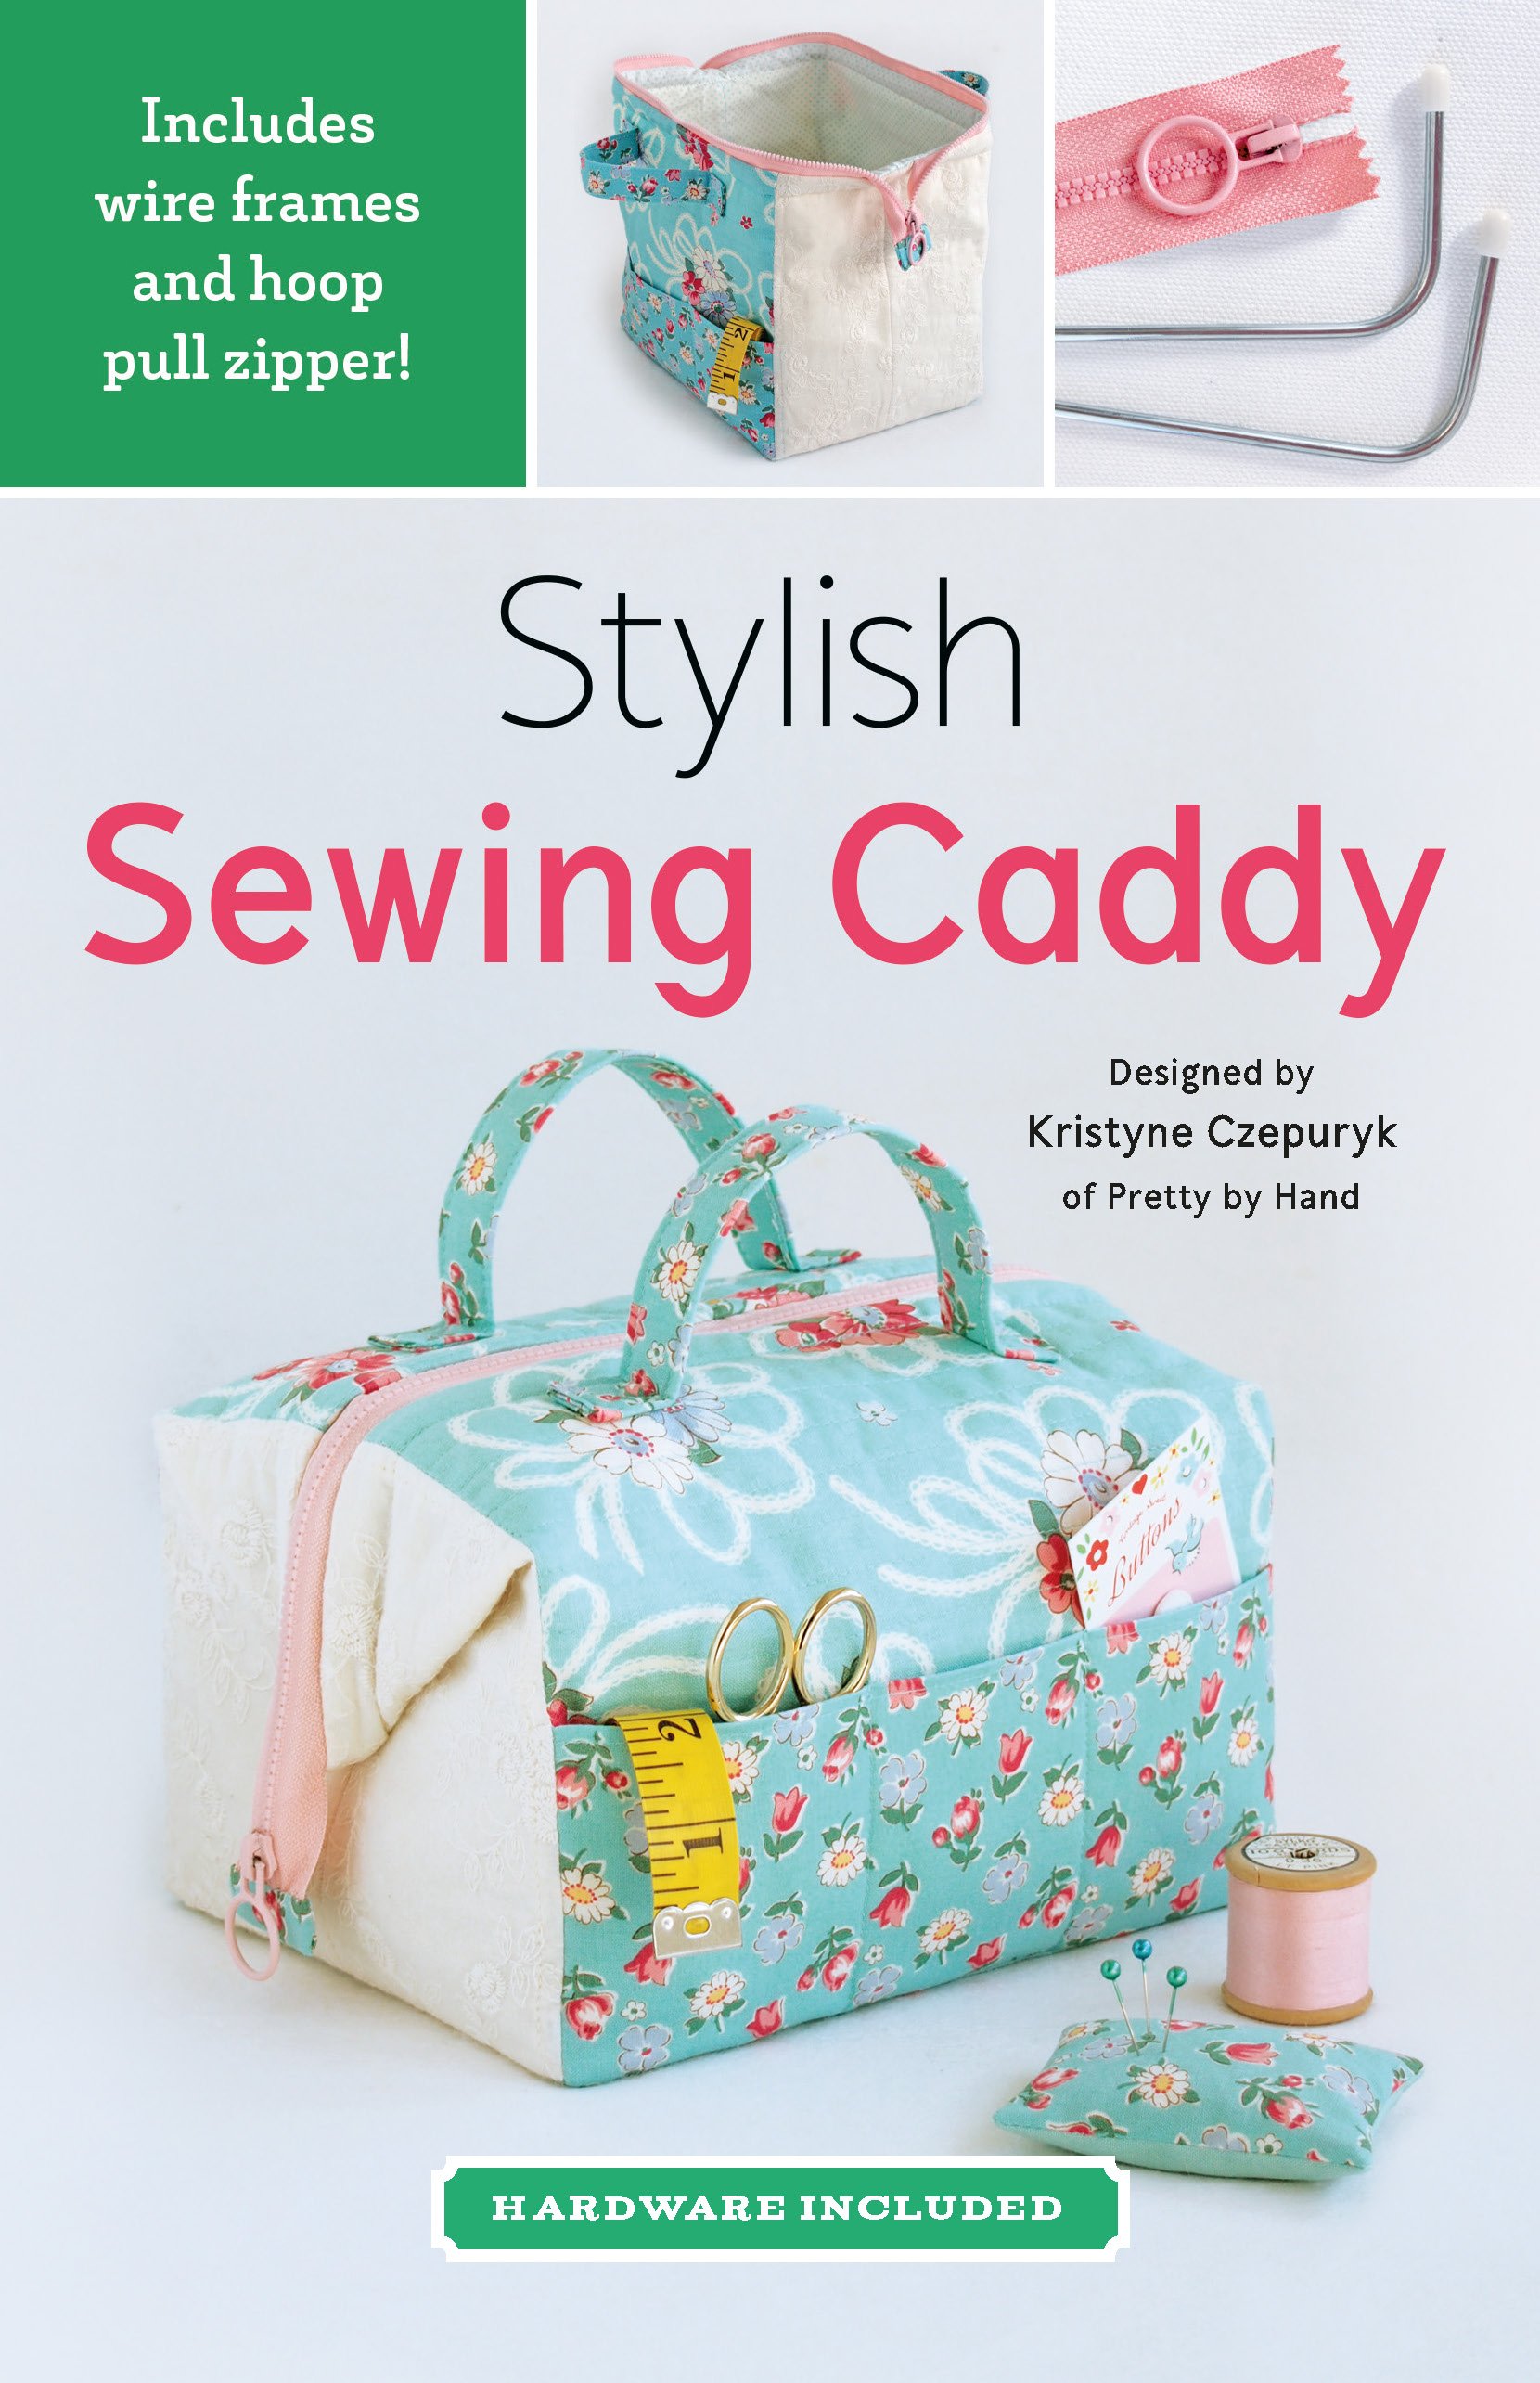
Patterns from the first printing contained an error, so they had a bookmark inserted with the following corrections. If your pattern does not include a bookmark, you have a more recent printing of the pattern where the error has already been corrected.
The cutting instructions indicate to cut the body linings at 11" x 10 ¾" but they should actually be cut at 14 ½" x 8."
When assembling the lining in step 6, the pattern says to sew down one side, leaving a 1” gap ½” from the top edge, but you should actually leave a ⅜" gap ⅜" from the top edge, as shown in the photo below.

Vintage Clasp Wallet

We've received feedback that the Step 3a Technique Photos: How to Sew the Purse are confusing. These photos actually feature another project that is constructed a bit differently, so we've removed them from more recent editions of the pattern. If your pattern includes these photos, please ignore them. Simply sew the lining and outside together as shown in this tutorial. Feel free to email us info@zakkaworkshop.com with any questions.
We've also updated the template to make it more clear where you should cut and where you should sew. Make sure to cut the templates out along the outer dotted lines and sew along the inner solid lines. Click here to download the amended templates (make sure to print at full-size).
Flying Geese Pouch

The cutting instructions indicate to cut four 2 ⅛ in (5.5 cm) squares for the sky fabric (background of flying geese motif). You should actually cut eight of these squares.
The note at the beginning of the construction steps says each set of one large square and two small squares will make four flying geese, but it will actually make two flying geese.
Books
The Nani Iro Sewing Studio

I. The Tapered Pant & J. The Wide Leg Pant
The pattern layout diagrams for both patterns indicate that you should cut 2 back waistbands, but you will only need 1.
The Purse Clasp Book

The Bauble Carryall Tote
Page 46: The materials list calls for 1 yard (1 m) of solid cotton fabric, but you will need 1 ¾ yards (1.6 m).
Embroidered Kitchen Garden

Kitchen Garden Planning
Page 54: The carrots should be stitched with satin stitch, not straight stitch.
Page 55: Replace DMC 365 with DMC 368.
Page 55: The apiary legs should be stitched DMC 822, not DMC 645.
Page 55: The tufts of grass should be stitched with straight stitch in DMC 989.
Page 55: The daisy stems should be stitched with backstitch, not straight stitch.
Updated templates can be found here:
Simply Stitched
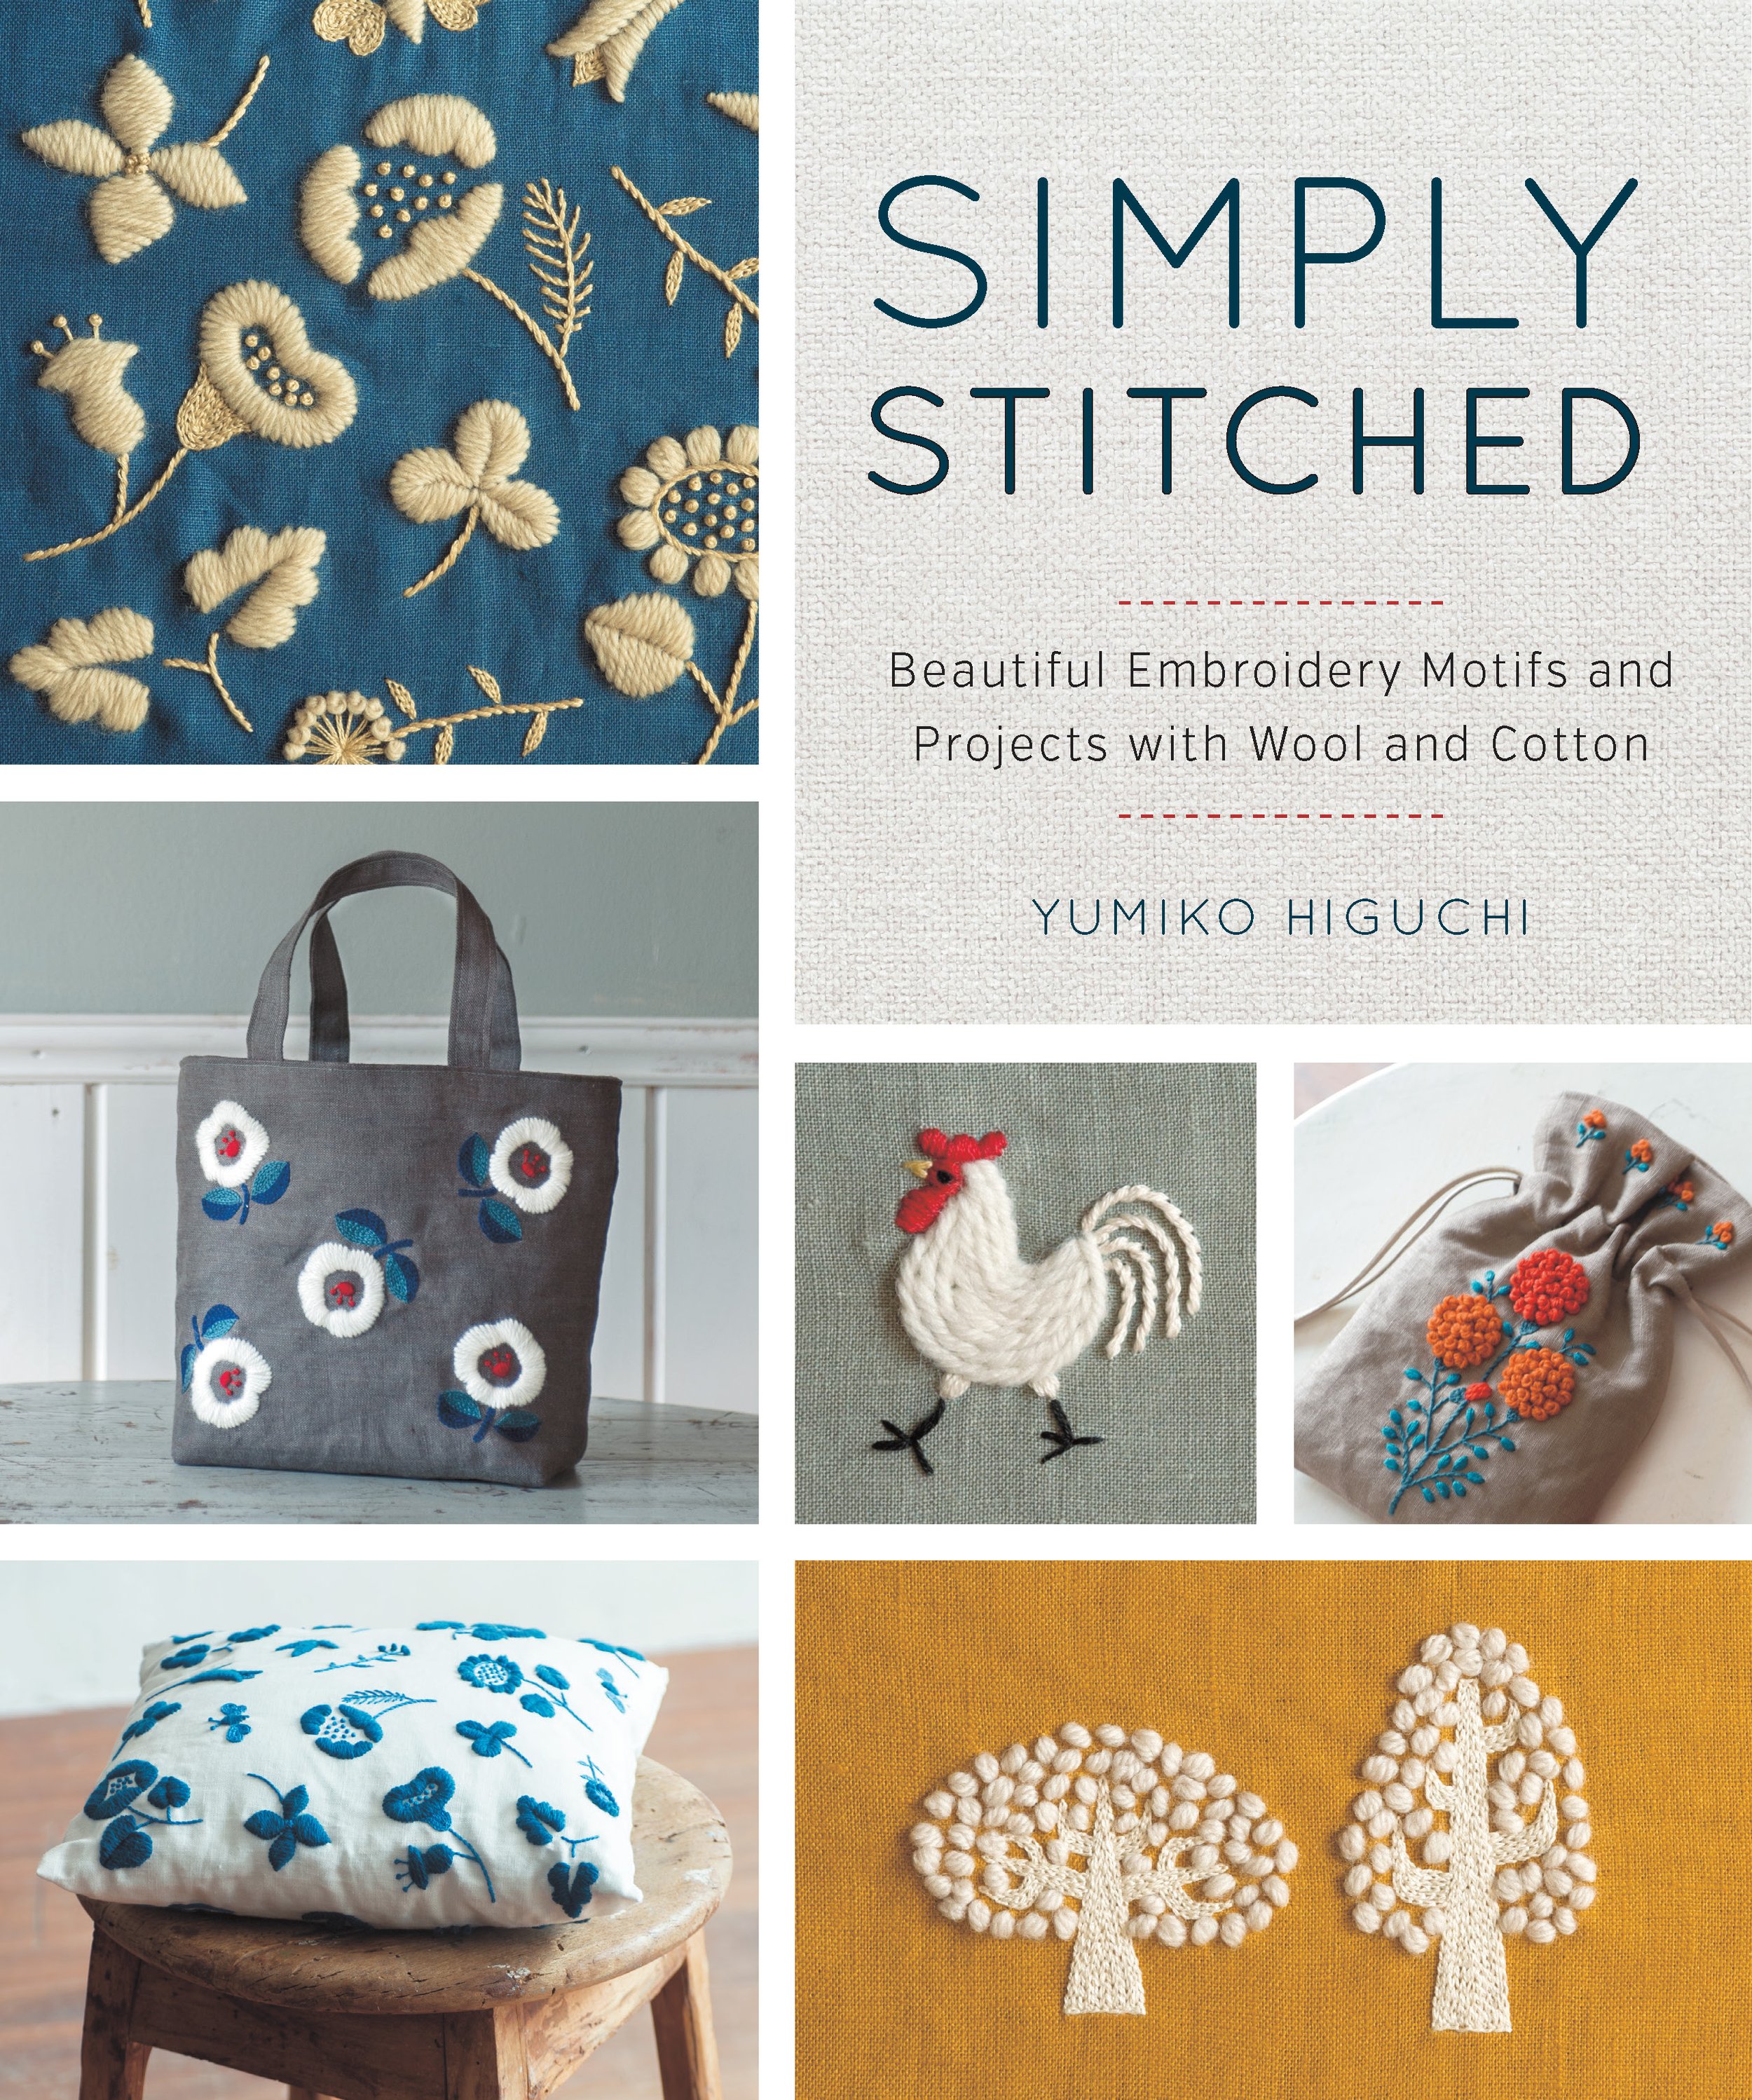
Thistle Needle Case
Page 45: In Step 7, stitch along the centerfold to attach the felt to the case. If desired, hemstitch the edges of the felt to the inside of the case.
Happy Flower Quilts

Patchwork Pencil Case
Pattern Sheet A: Templates A and B are incorrect. Click here to download the amended templates (make sure to print at full-size).
Floral Applique Tote
Page 89: In the Layout Diagram, the handle length should be labeled as 11” (28 cm), not 8” (20 cm).
Page 90: In the Cutting Instructions, ALL handles should be cut at 1 ¾” x 11 ¾” (4.4 x 29.4 cm), not 1 ¾” x 8 ½” (4.4 x 21.4 cm). Also, cut 4 handles out of fusible fleece, not 2.
Page 92: In Step 7, fusible fleece should be applied to the wrong side of all four handle pieces.
Big Sister Tote
Page 112: In the Step 6 diagram, the top portion of the bag should be labeled Bag outside (ws), not Lining (ws).
Quilted Bags & Gifts
Dancing Tulip Bucket Bag
Page 22: In step 3, the stems should be cut at 1" x 4" (2.6 x 10 cm), not ½" x 4" (1.3 x 10 cm).
Page 22: In step 4, the front lining should have ½" (1.2 cm) extra seam allowance along the bottom. This will be used to finish the seam allowance.